 |
| Tofino Pattern by Sewaholic |
With my sewing machine clean, I could start to prepare the fabric for the Tofino Lounge Trouser pattern. I had been out to my local fabric shop (see link below) to select some gorgeous fabric for this pattern. I hunted through the racks - through gingham and flannel and cottons and spots. I wanted to used gingham for the project and spoke to the lovely shop lady who gave me some great advice. She said that gingham would look good but as I was a novice she thought a repetitive pattern would be best and move on to gingham after a bit of practice. With the hunt still
 |
| Tools for the job |
After looking at the instructions on how to lay the fabric with the pattern on it, I had a dilemma on what size to cut. As mentioned in an earlier blog, this pattern is specifically made with pear shape women in mind. I looked at the size chart and could see I fluctuated between an 8 and a 10 and then to confuse me even more I looked at the finished measurements and couldn't fathom out how a 40inch hip would need a 47.5inch when finished. With me starting to worry I hadn't bought enough fabric I remembered that 'Tilly and the Buttons' had a great blog on this (see link below). After reading this (and
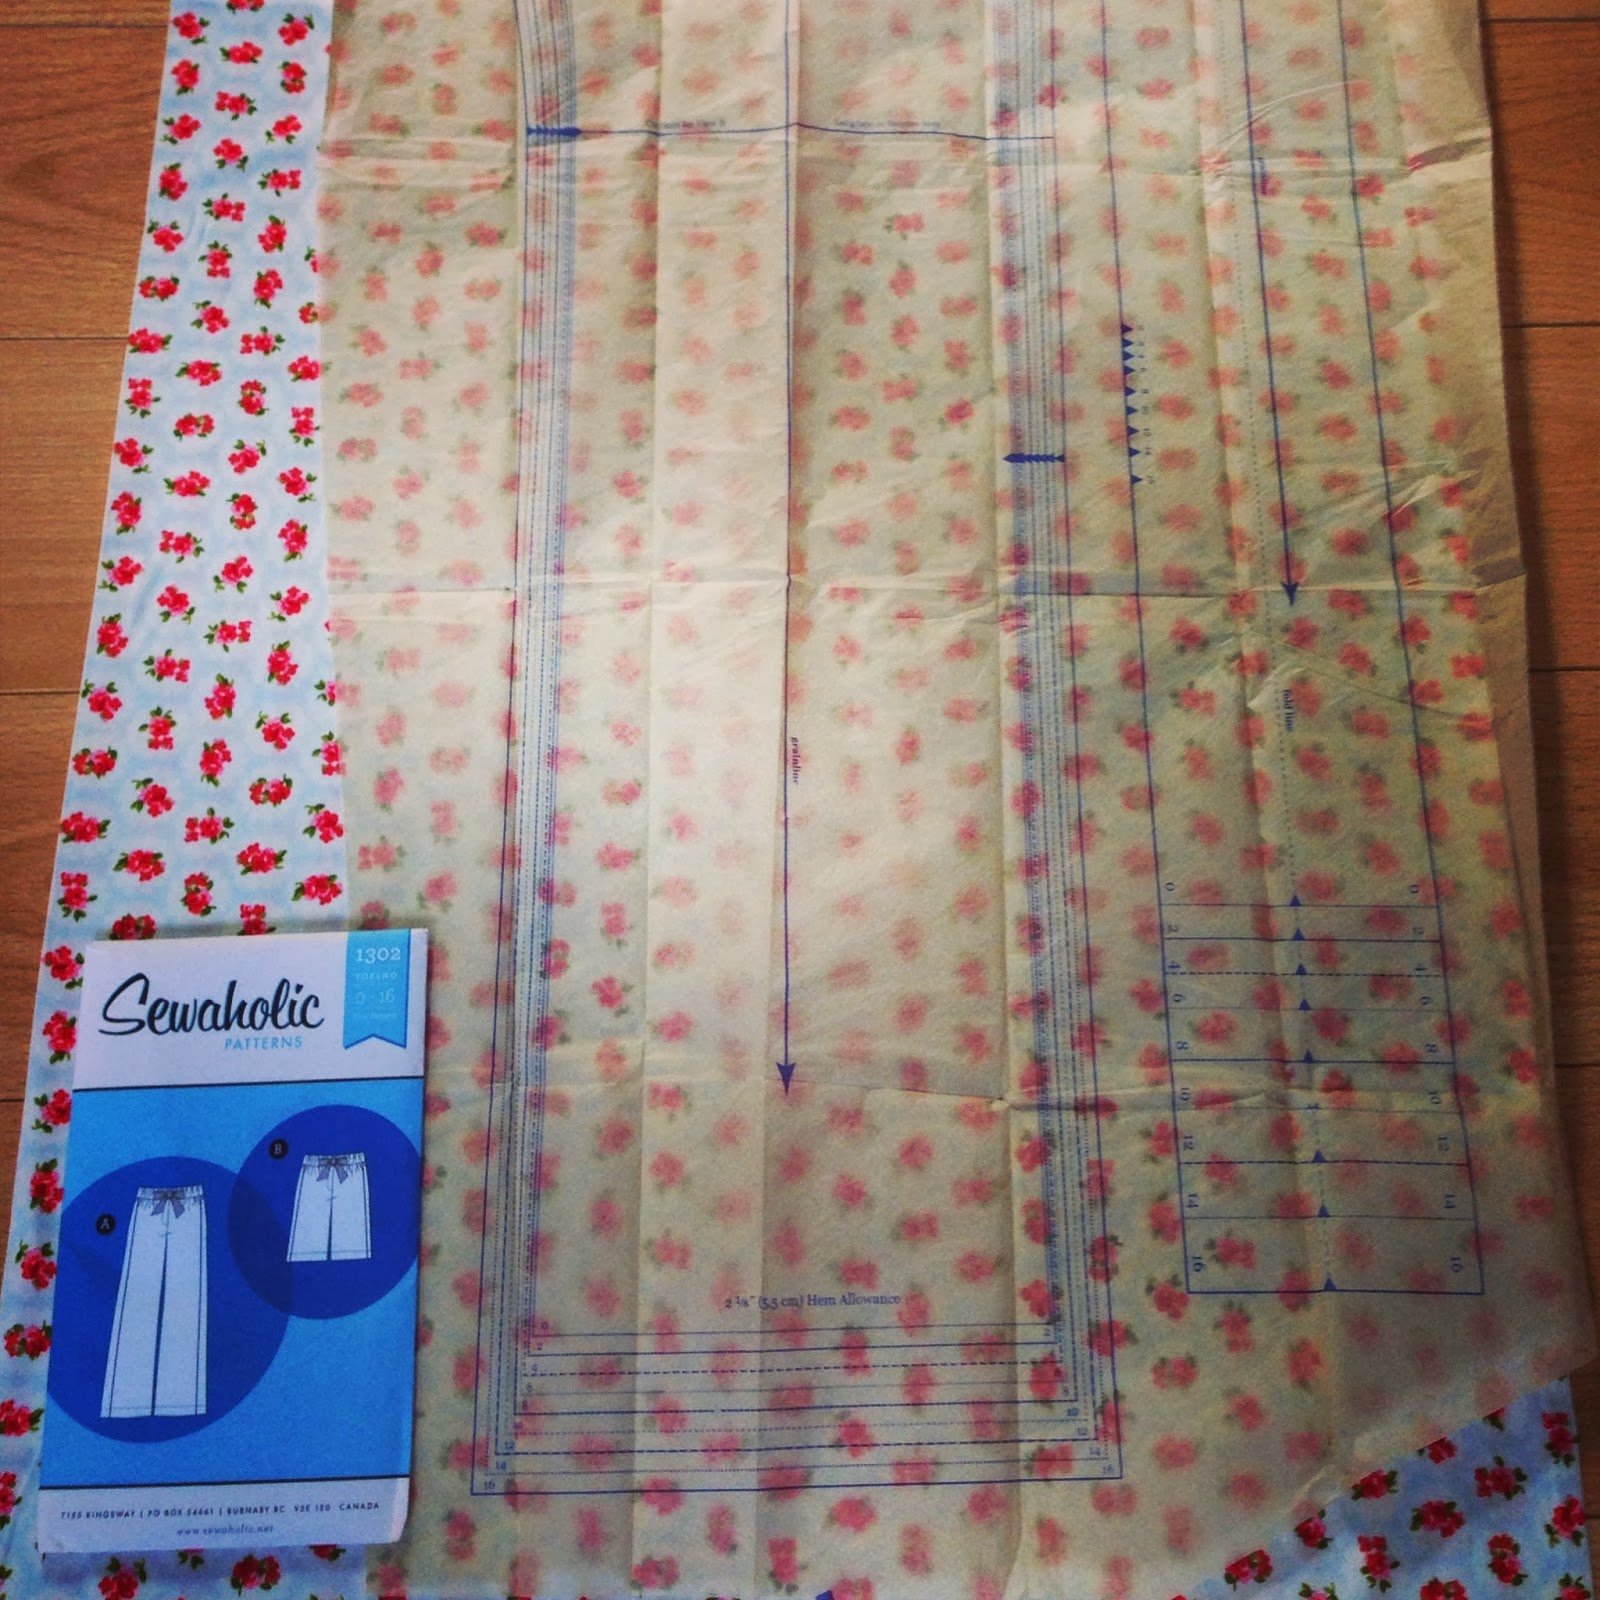 |
| Checking the pattern fits! |
With size selected I got snipping! I snipped all the pattern pieces out (I'm not using the contrast bits this time...I've not made a pair of trousers before and I checked it can be left out but there is always next time) and ironed it on a gentle heat. With my fabric and pattern ready, I pinned the pattern to the fabric and cut out the pieces including the notches. With the pieces all ready to go I referred back to the pattern to see how to put it all together. One of the pieces requires a button holes to thread a belt through (ok, I may do this, but piping is definitely out) and haven't done button holes before so instead of starting out sewing the pieces together, I thought I would practice button holes.
 |
| Button Hole Presser Foot |
 |
| Success! |
I can't stress enough how importing preparation is on sewing projects. If you're like me you just want to get on your machine and start stitching away. Sadly though, if you don't prep properly then the actual stitching will become more tricky. I feel now that with my fabric cut and by practicing button holes I'm now ready to move on to stitching the trousers together! Until next time...
Top Tips:
- Equipment: Fabric, pins, pattern, scissors, sewing machine, button hole presser foot and thread
- Check sizes before purchasing - this will ensure you buy the right amount of fabric! If in doubt, ask the shop assistant or double check!
- Look at how long the finished item is - I was so focused on the bust/waist/hip measurement that this slipped my mind. I was lucky that the finished garment is 33 inches so just long enough for my 32inch pins
- Button holes: If using a light weight fabric you may need some facing to strengthen it.
Useful Websites/ books:
- Sewaholic - http://sewaholic.net/
- Tikki Quilt and Patchwork - http://www.tikkilondon.com/
- Tilly and the Buttons - http://www.tillyandthebuttons.com/2013/02/how-to-select-your-sewing-pattern-size.htm
- 'All you need to know about machine and hand sewing - Sewing Basics' by Sandra Bardwell
Happy Prepping x
No comments:
Post a Comment